
Preserved Lemons
The first preserve I ever made was preserved lemons. I say preserve rather than ferment because at the time (cerca 2012) I was still afraid of fermentation.
I’d been recently introduced to Middle Eastern cuisine and needed preserved lemons for something. Having no clue where to purchase preserved lemons, I found and followed a recipe online. I adhered to the recipe faithfully until I got to the end where it instructed me to let it sit at room temperature until ready. Instead, I shoved the jar in the fridge and let them cure at there for several weeks. It turned out fine for the numerous tagine inspired braised dinners I made that winter and letting it cure in the fridge assuage my fears.
I didn’t know it then, but preserved lemons are kind of the perfect first project for someone who is just learning to trust in their new microbial friends. First, lemons have a pH less than 4.6, so the pH is already too low for most dangerous microbes to grow. Second, if you are concerned that 3% salt isn’t enough to selectively grow lactic acid bacteria, this recipe is pretty forgiving if you can use a heavy-ish hand on the salt. In fact, since lemons are a fruit and have more sugars than vegetables, they are more susceptible to yeast fermentation which produces alcohol rather than acid. Therefore, when fermenting fruits, it’s best to use a bit more salt to limit yeast growth and better select for lactic acid bacteria.

There are only two ingredients you need for preserved lemons: lemons and salt.
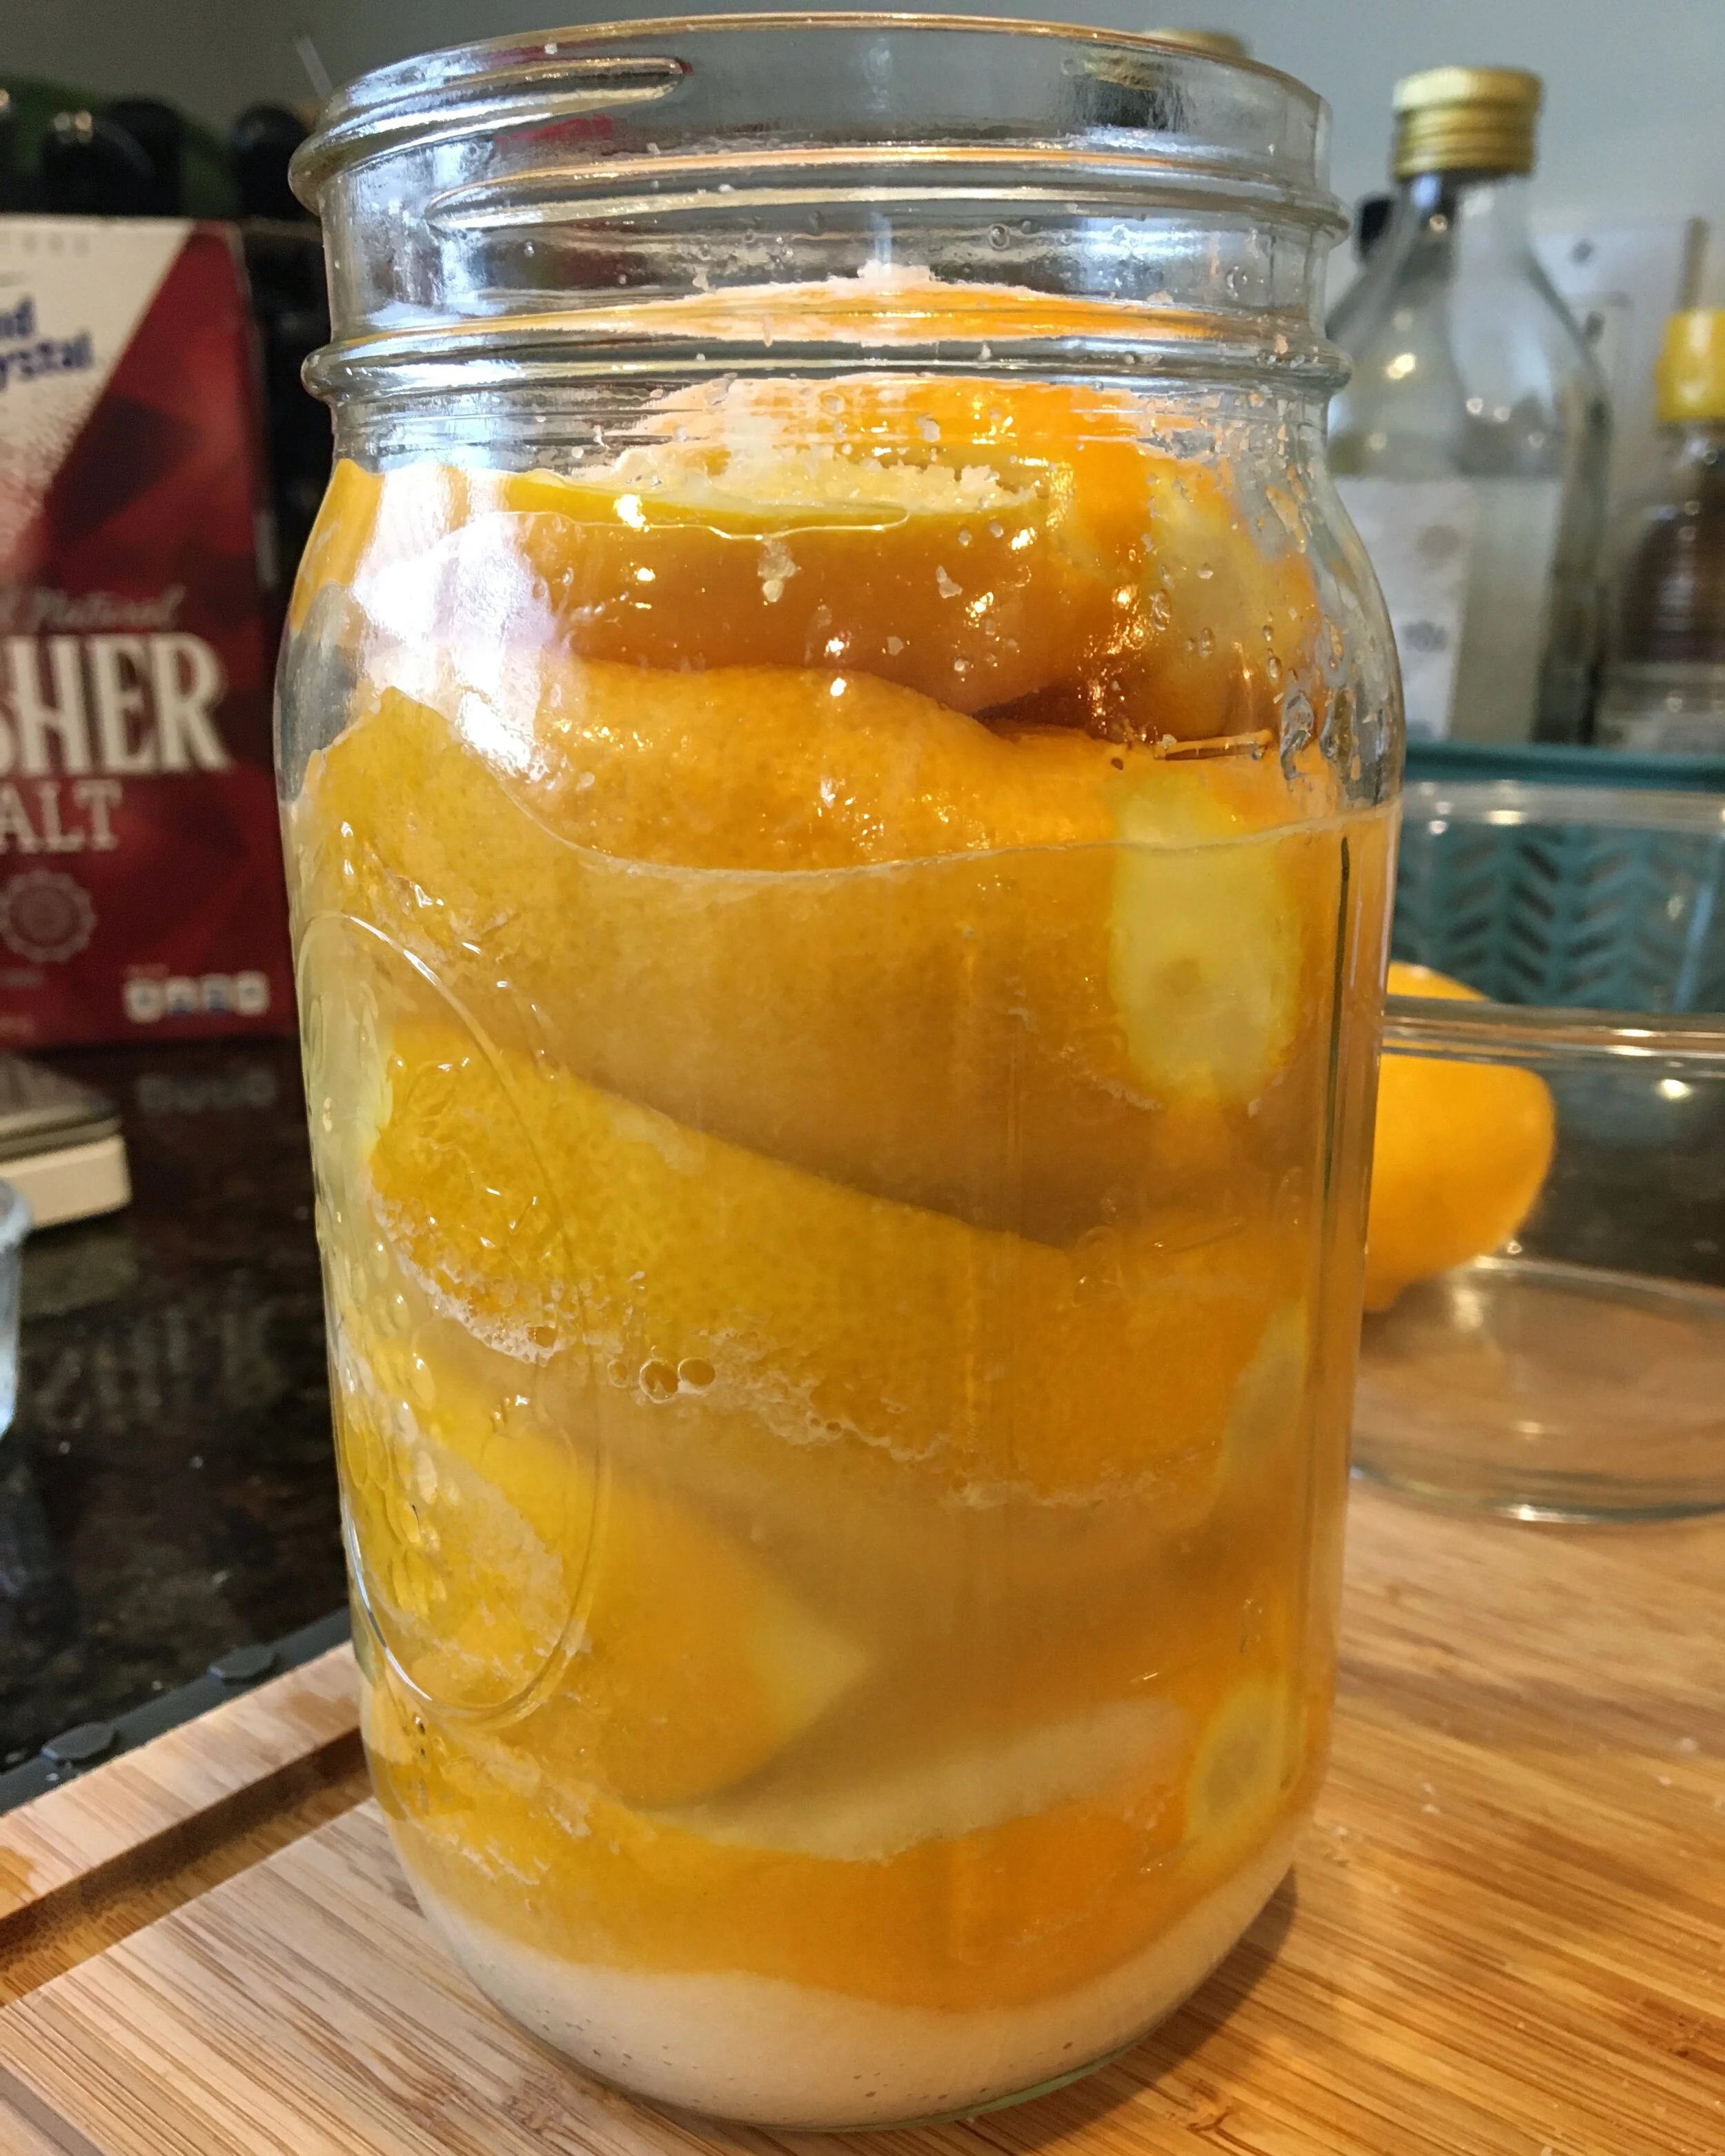
They type of lemon is up to you: regular, myer, organic or conventional. Since I live in New England, locally grown citrus is sadly not an accessible option. That being said, I’ve had good results with conventionally farmed lemons. I’ve never had lactic acid bacteria not grow when given the proper conditions! For the photos accompanying this post, I decided to splurge and bought meyer lemons. They have a more floral, nuanced flavor of lemon and are very nice when preserved. The ones in the photos here were quite large, and very juicy, so I accidentally filled my jar more than I’d generally recommend. But, the flavor is what matters and they will be delicious!
Non-iodized salt is generally encouraged since it’s widely believed that iodine may inhibit microbial growth. I’ve been using Diamond Crystal Kosher salt, which is very low-density so it’s less salty by volume compared to Morton’s Kosher salt or denser Kosher sea salts. So when I say you’re using 1 tbsp of Diamond Kosher salt and you have another brand, you might want to use a bit less so you don’t oversalt too much.
Making preserved lemons feels more like a process or a technique rather than a recipe. It’s the sort of thing that you don’t need to scale up or down with exacting precision the way you would with a cake or cookie. It’s more like follow these guidelines, modify a bit if you’d like, and you’ll be ok!
Yield: 5 preserved lemons, about 1 qt jar
Time: 10 min active, 2-3 weeks inactive
Materials:
6-7 Lemons, well washed in tepid water
½ cup Diamond Crystal Kosher Salt or another brand of non-iodized salt
1 qt glass jar
1 plastic sandwich bag
Clean cutting board, knife, hands (just clean, not sanitized!)
Trim about ¼ inch off the ends of 4-5 of your lemons; you should not cut all the way to the flesh. Cut each lemon into quarters through one end, stopping ⅘ of the way through the lemon. You are just exposing the inner flesh while maintaining the whole shape of the lemon. Remove any visible seeds carefully with the tip of your knife.

2. In the bottom of your jar, add a tablespoon of salt. Anchoring the uncut end of a lemon on your cutting board, gently spread the quarters apart and sprinkle a tablespoon worth of salt inside of the lemon. Close the lemon around the salt and place it in the jar on its side.
3. Repeat this process, placing the salt stuffed lemons in the jar as best you can to minimize empty space between them. For every layer of lemons in the jar, sprinkle about half a tablespoon of salt on the lemons before stacking more lemons on top. If you need to make room as you go, gently press the lemons down as you pack the jar. It’s tempting to fill the jar to the top, but remember you need at least 2 inches of head space.
4. Once all lemons are in the jar, sprinkle half a tablespoon of salt on top and press them down again to evaluate the amount of brine you have. If you can avoid it, try not to flatten and deform the lemons. Juice one of your extra lemons and add the juice to the jar. Press down on the lemons again; if they are less than ½ covered, add the juice of your second extra lemon.
5. Open your zip lock sandwich bag and place it in the jar, pressing the plastic over the top of the lemons. Fill the bag with water and close the bag. The water filled bag should displace the brine to cover the lemons.
6. Place your jar on a plate and set it in a dark place in your kitchen or under a towel in place that is between 65-70F. Check the jar the next day just to make sure the lemons are submerged in brine. If they aren’t, open the sandwich bag and press the lemons down through the bag before resealing it. Let the lemons ferment for at least 2 weeks, perhaps even three. You should see bubbles form in the brine within the first 5 days; your microbes are happily fermenting away! The preserved lemons are ‘done’ when the rinds have fully softened and the lemons and brine have salty yet nuanced lemon flavor, a bit more savory than they’d be fresh.
7. Remove the zip lock bag weight and press the lemons down a bit if needed so they stay under the brine. Place a lid on the jar and store your preserved lemons in the fridge. They will keep for a year or more when stored this way.
Some recipes for preserved lemons call for added flavorings, like bay leaf, peppercorns, or chili pepper. Feel free to add these if you like and experiment for yourself!
When using preserved lemons, generally I just use a quarter or half of a lemon at a time. If working on a clean cutting board with clean hands or utensils, you can take what you need from a lemon and then put the rest back in the jar, making sure to re-submerge it in the brine. The entire lemon is edible, rind and flesh, so use what you’d like according to your recipe or preference. You can even puree the lemon and some of the brine for an easy to use paste. I’ve also just used the brine as a seasoning and think it would make a great vinaigrette base too!