
Miso Caramel Pot de Creme
I’ve loved the idea of the miso caramel flavor combination for a while and wanted to bring them together in a dessert. I recently started working at a bakery that makes lovely little pot de cremes and it’s put custards on my mind. So, miso caramel pot de cremes (PDC) were born as an idea!
Custard desserts are generally dairy based (though any liquid could be used) and are set using eggs. Depending on the type of custard and the desired texture, whole egg or egg yolks may be used. For example, a flan or other custard that will be turned out of a pan needs the protein power of whole eggs to have a firm enough structure to stand on their own. Custards served in a vessel like a ramekin, like pot de creme or creme brulee, don’t need to hold their own shape and can be made with only egg yolks. Since egg yolks have less of a protein punch than egg whites, it takes more yolks to set the same amount of liquid (e.g. water, milk) as a whole egg, about 3 egg yolks/1 cup liquid. (McGee On Food and Cooking)
In the first iteration of this recipe, I tried using brown sugar instead of caramelizing sugar. The idea of a simple ‘cheat’ to get that caramel flavor without making a caramel was super appealing, but the flavor just wasn’t convincingly caramel-like. Making your own caramel is easy enough and won’t take too much longer, it just takes a bit more attention to details.
When making the caramel, I always add a little water to my sugar, just enough to help it dissolve. Yes, you can make caramel without but I’ve never had good results. The water ensures the sugar heats evenly and dissolves the sugar crystals so your caramel will not become grainy. You can further ensure your caramel stays nice and smooth by not stirring the solution once the sugar is fully dissolved (which might introduce sugar crystals) and brushing down the sides with a wet pastry brush to dissolve any remaining sugar crystals.
It’s key to let the caramel achieve a nice, dark color for the best flavor. It should be more of a mahogany than amber, which will have more of a creme brulee sugar flavor. When the sugar starts to take color, make sure your cream/milk is close by and keep a very close eye on the pot. Even if you take the pot away from heat, the color will continue to develop, so use this to your advantage. I like to remove the pot from the heat as the caramel is approaching mahogany so it’s less likely to burn and add my cream/milk as soon as it reaches my preferred color to stop the caramelization.
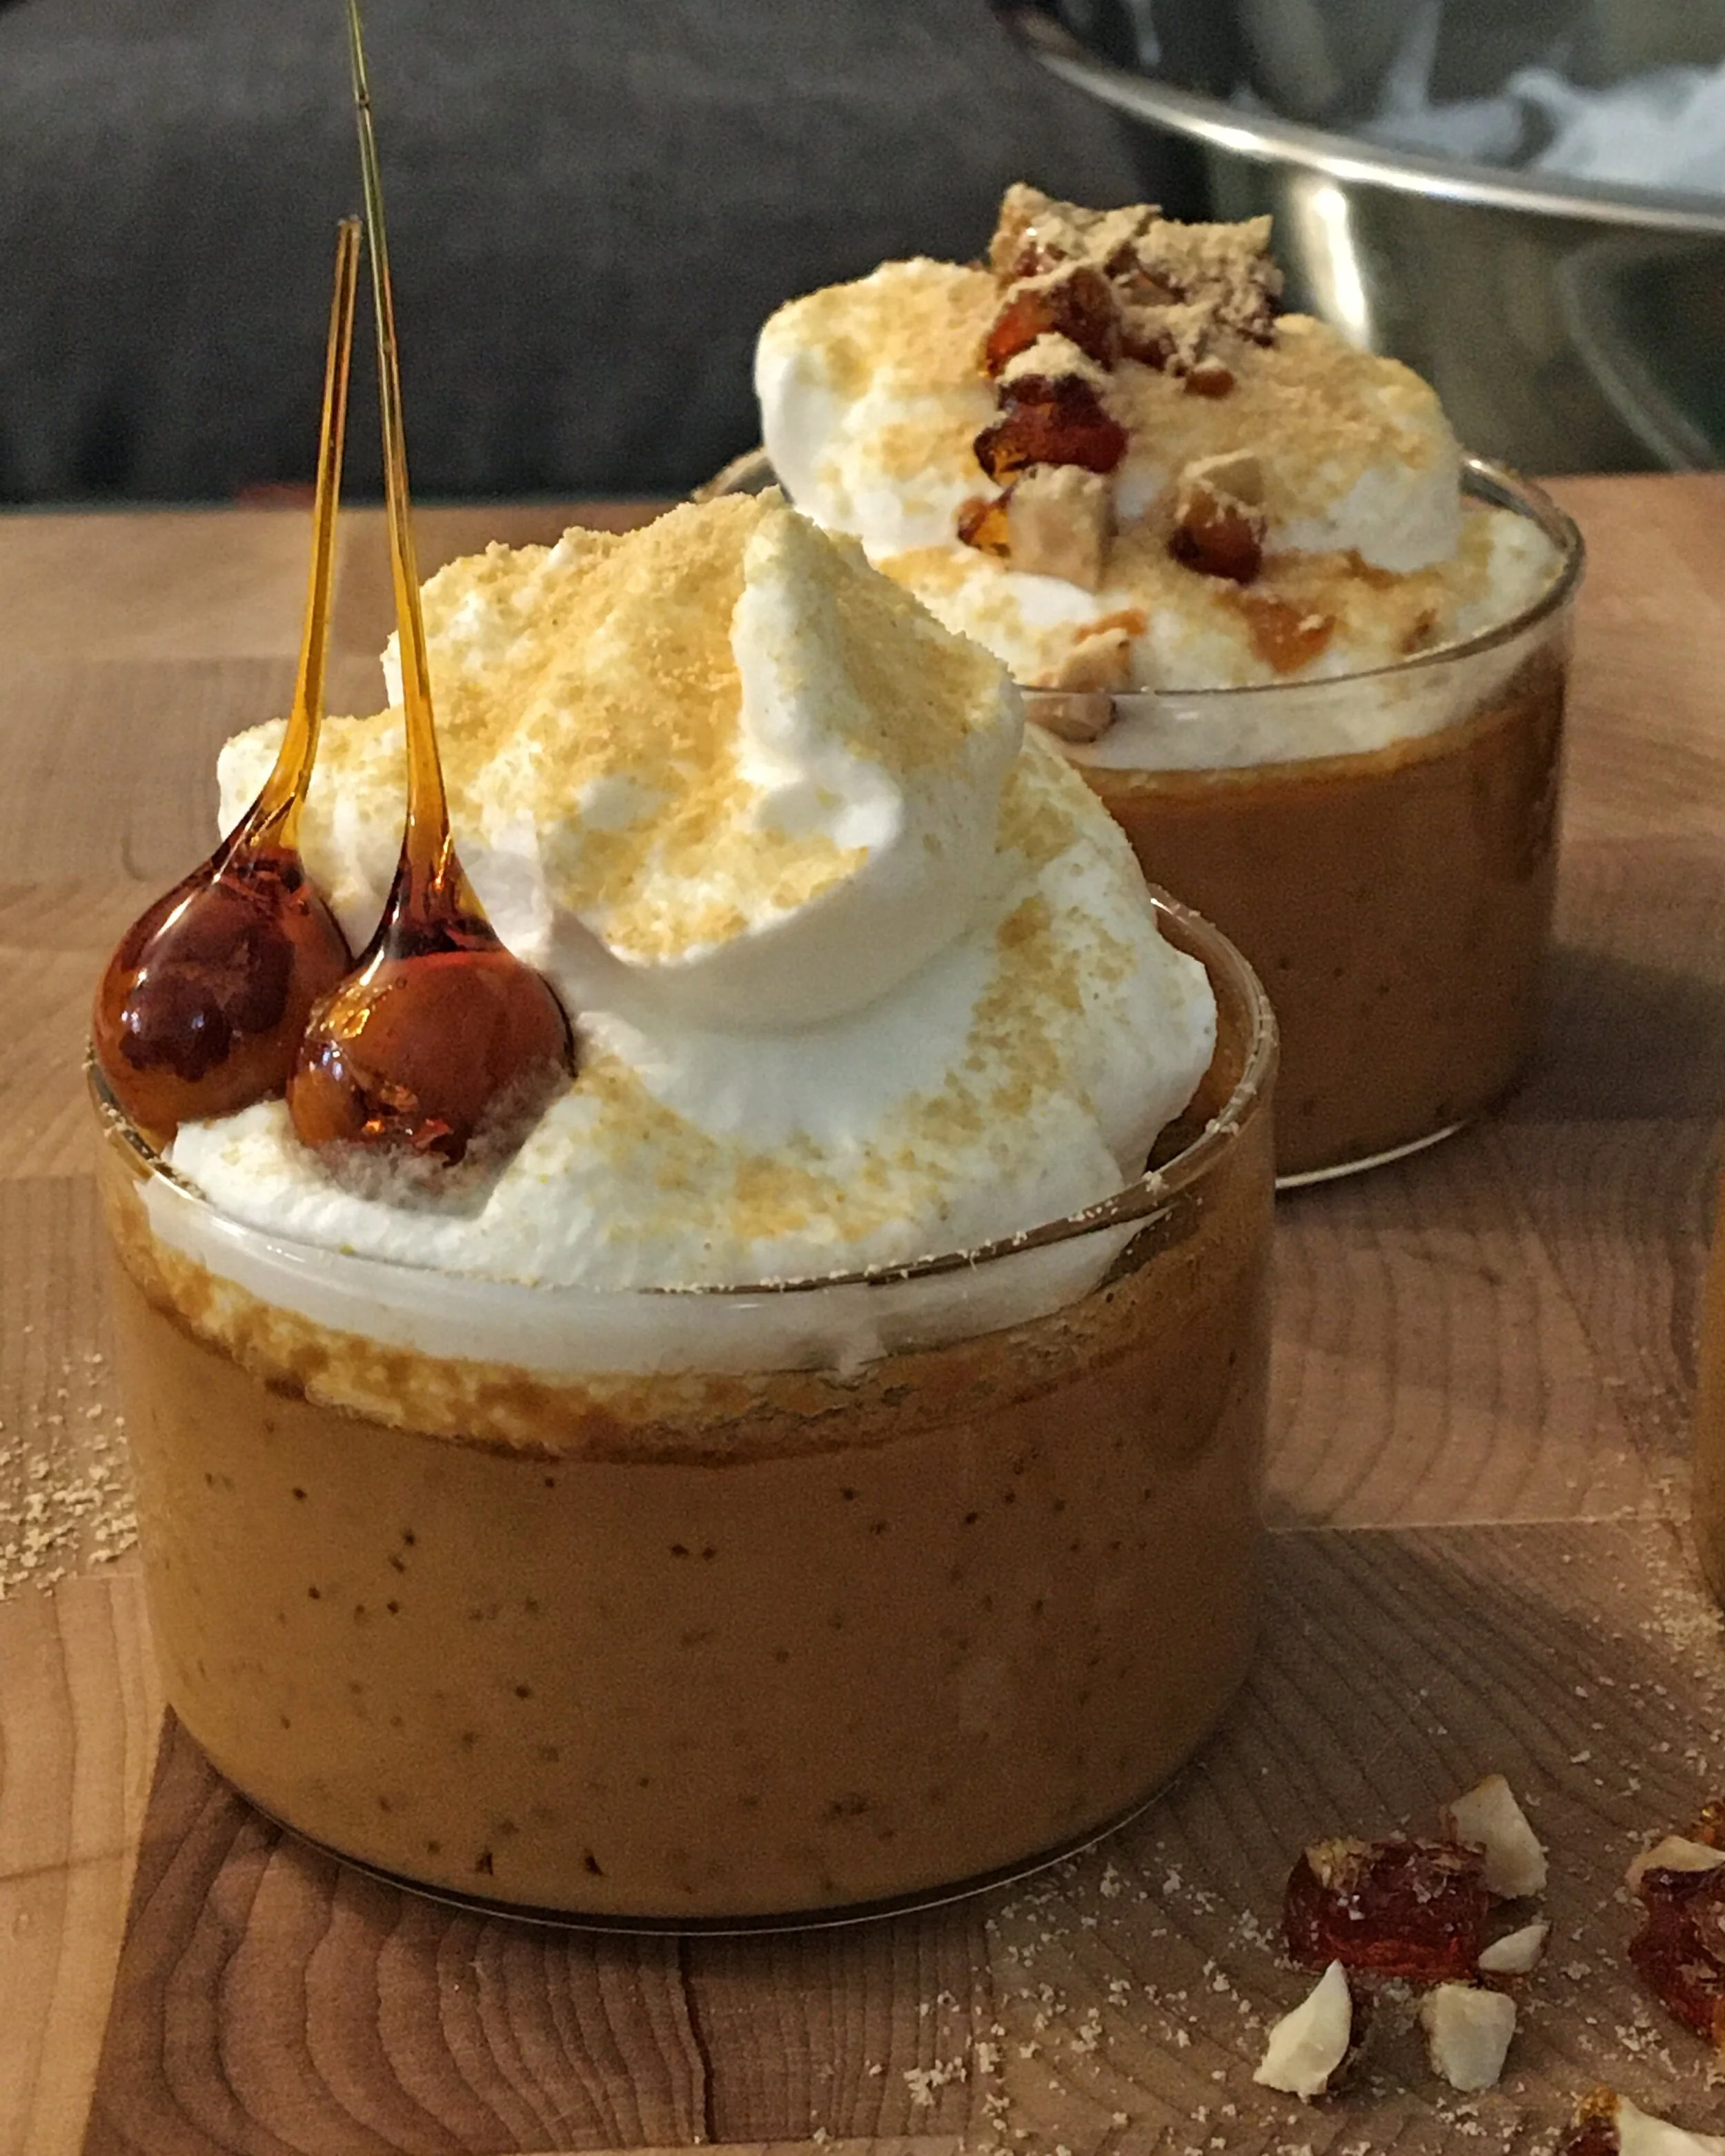
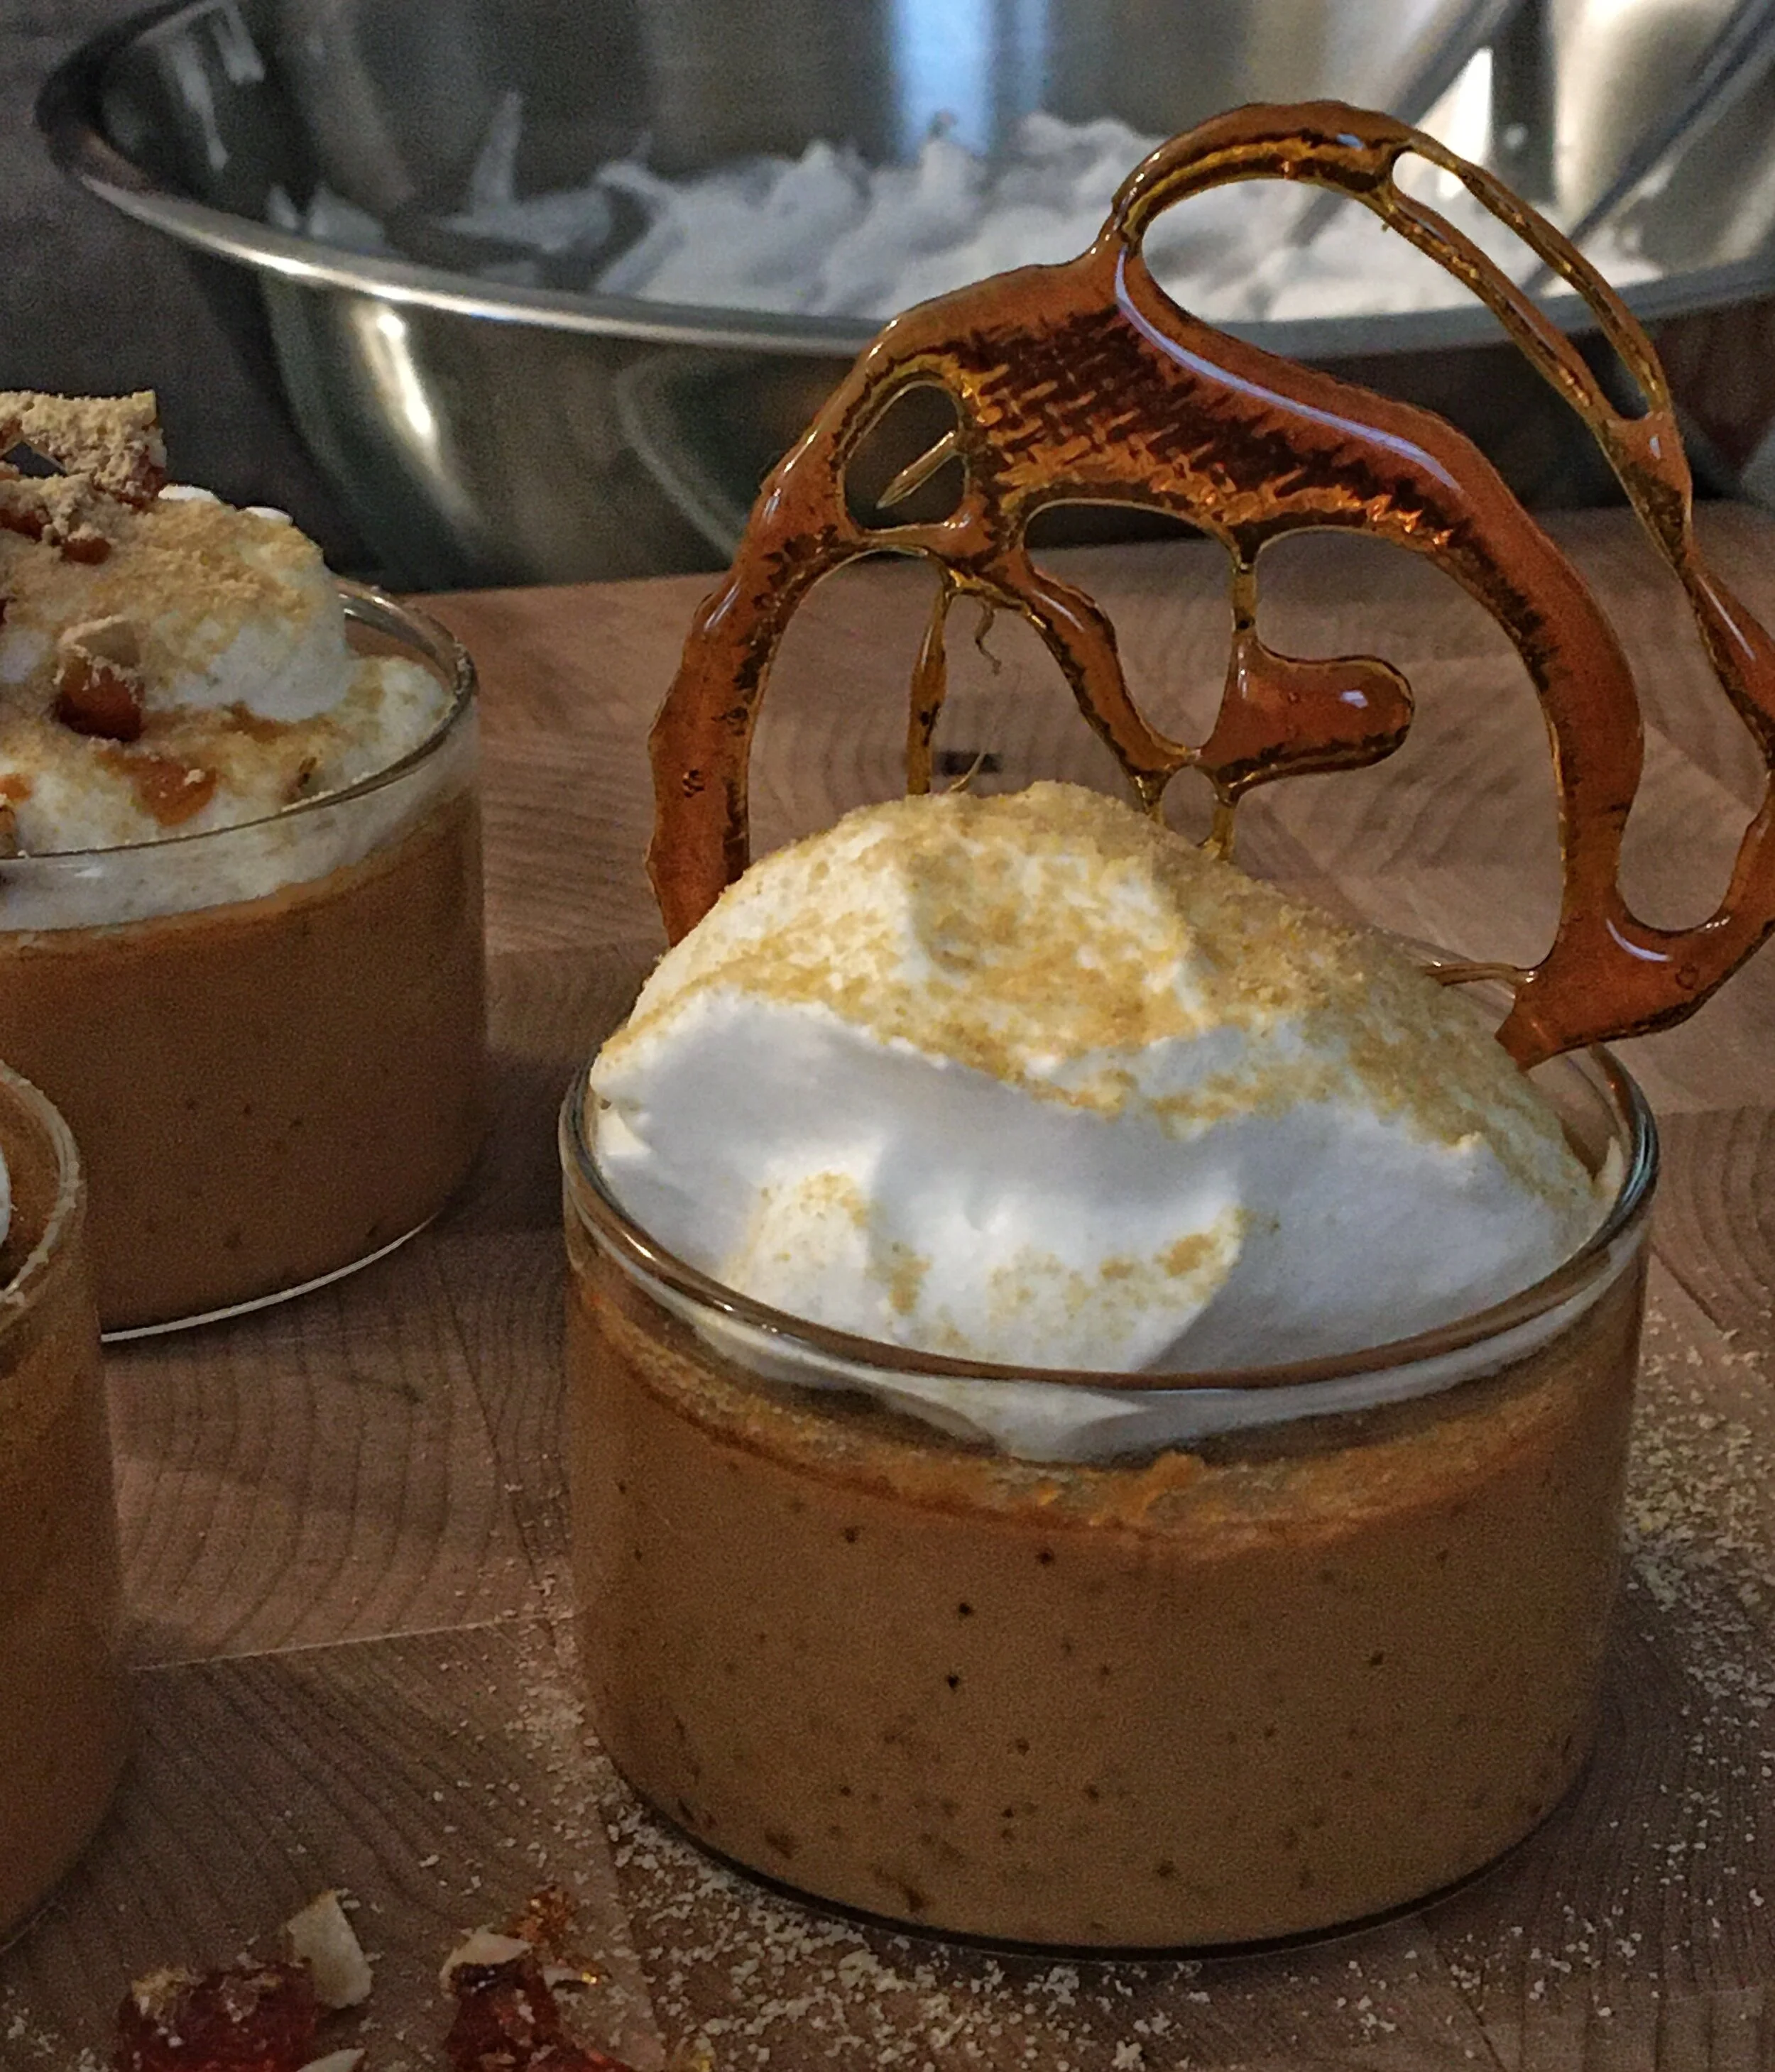
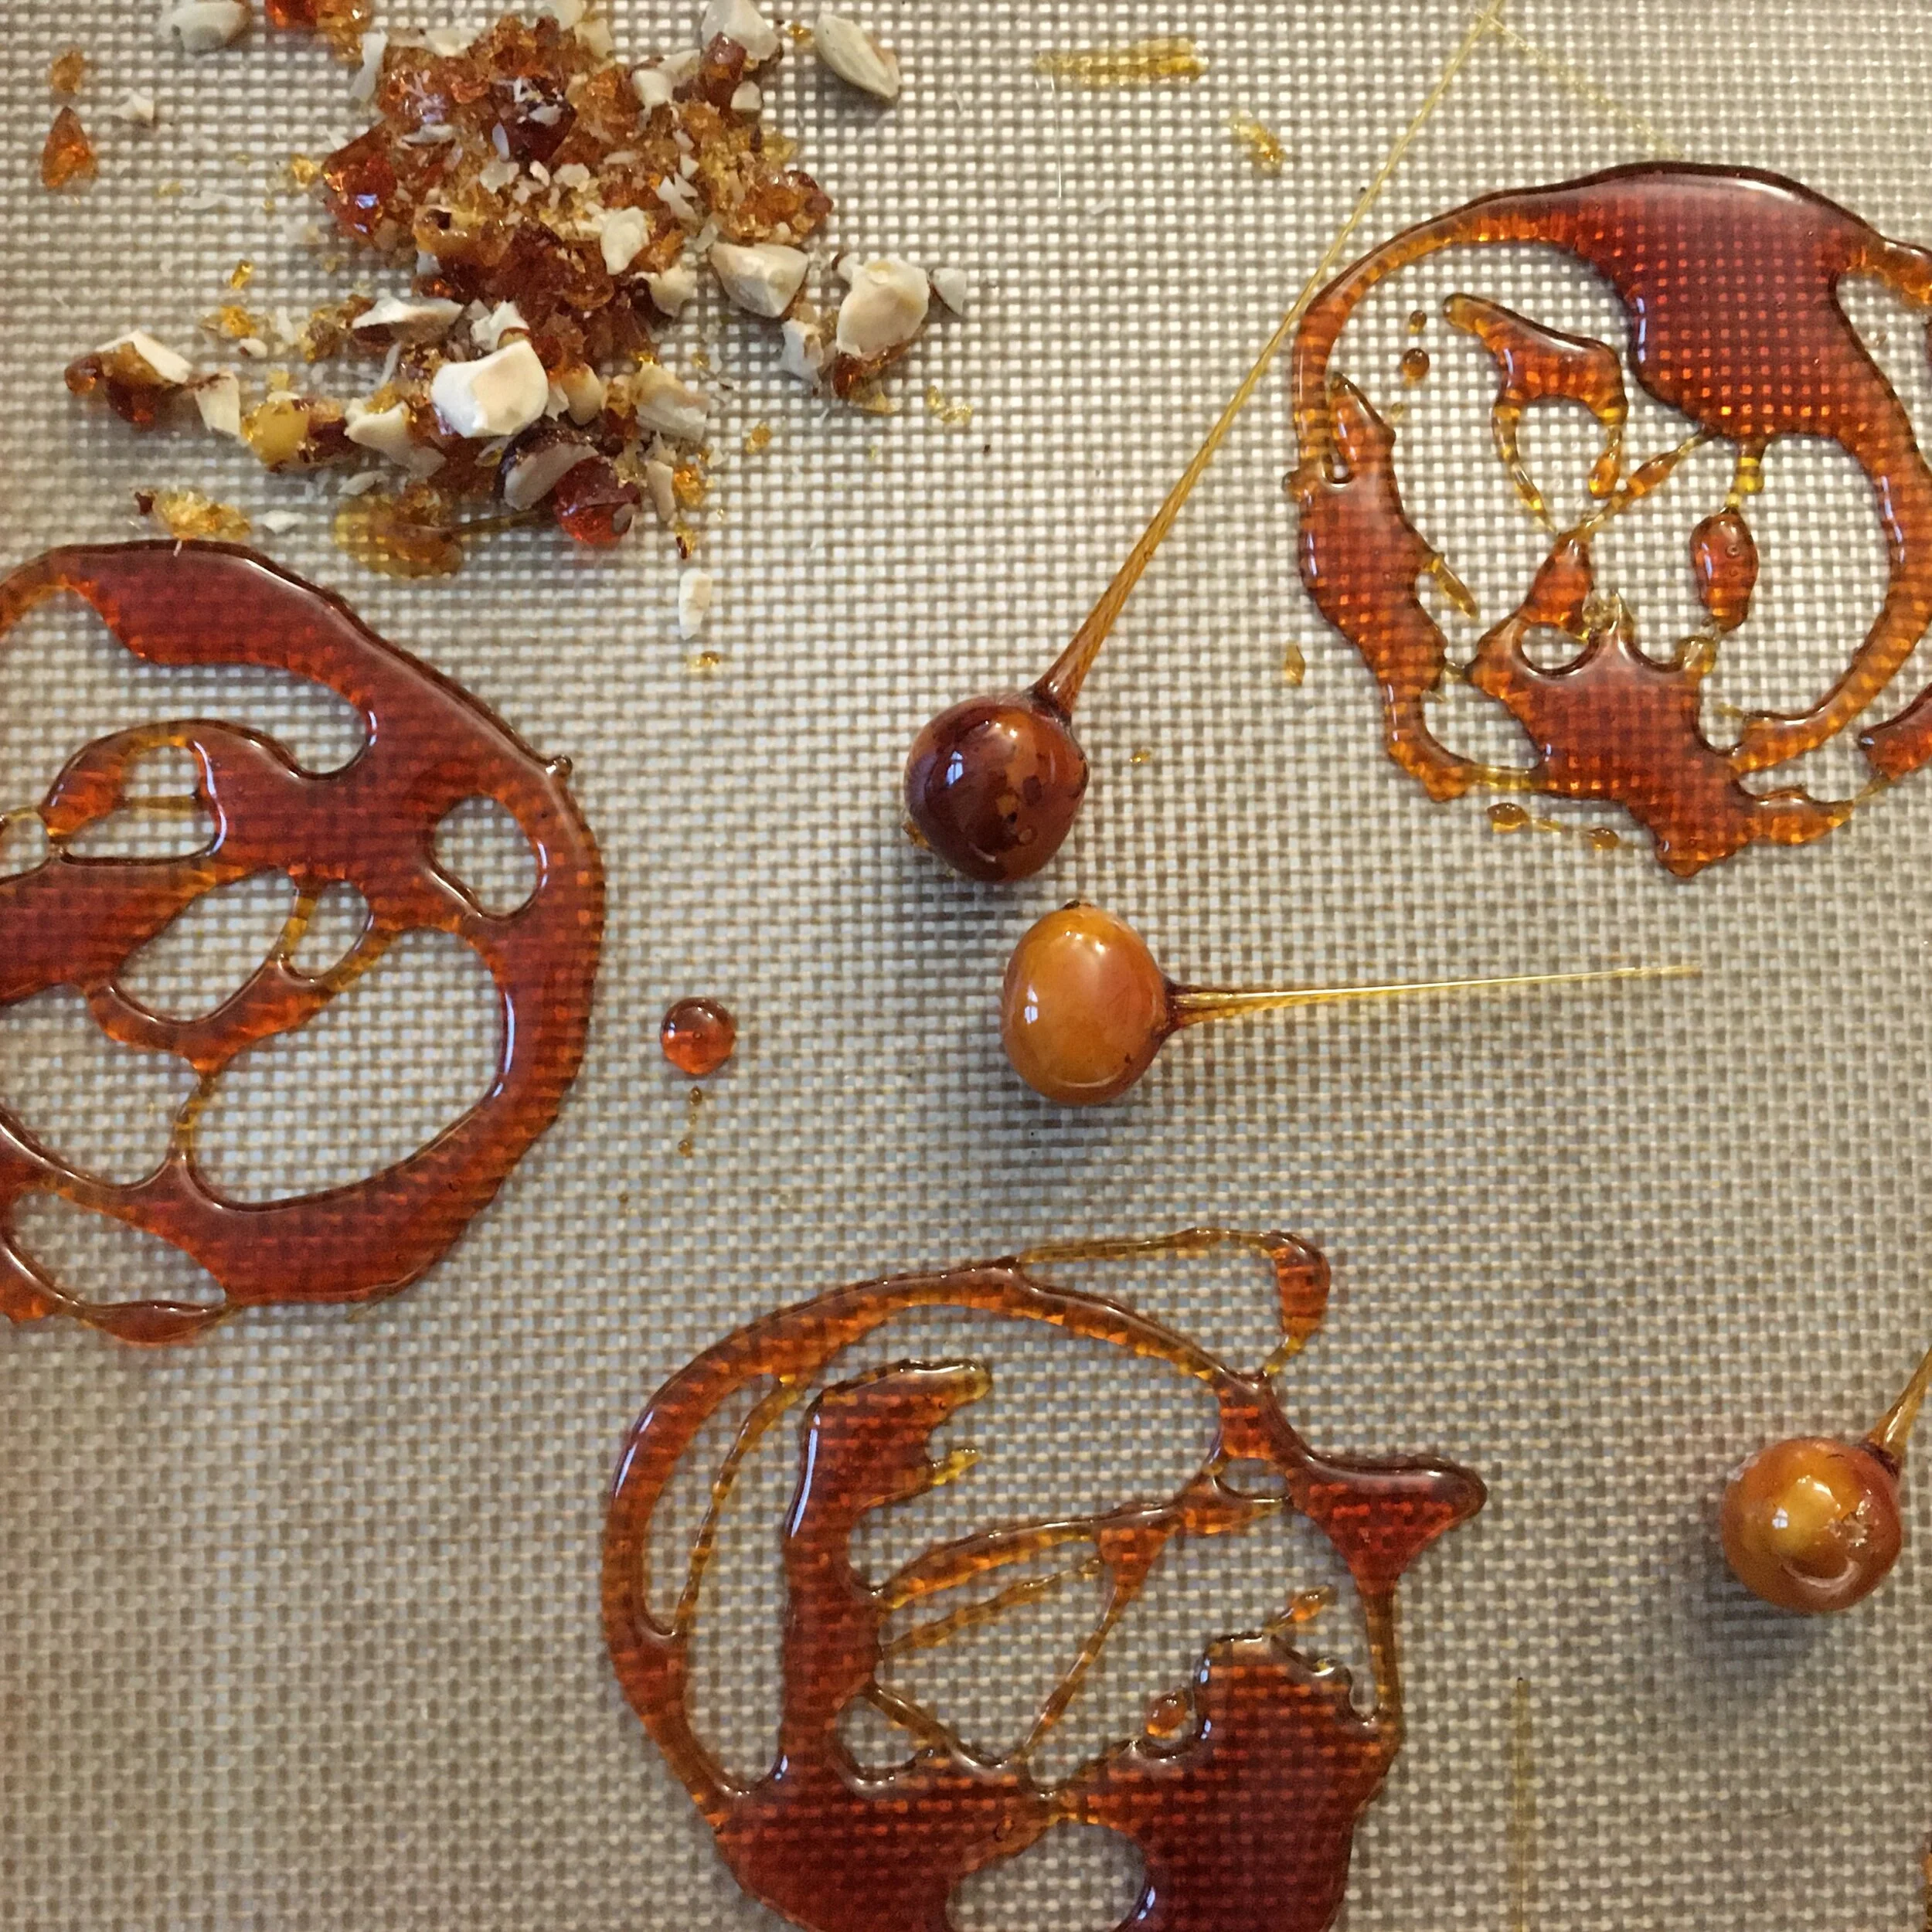
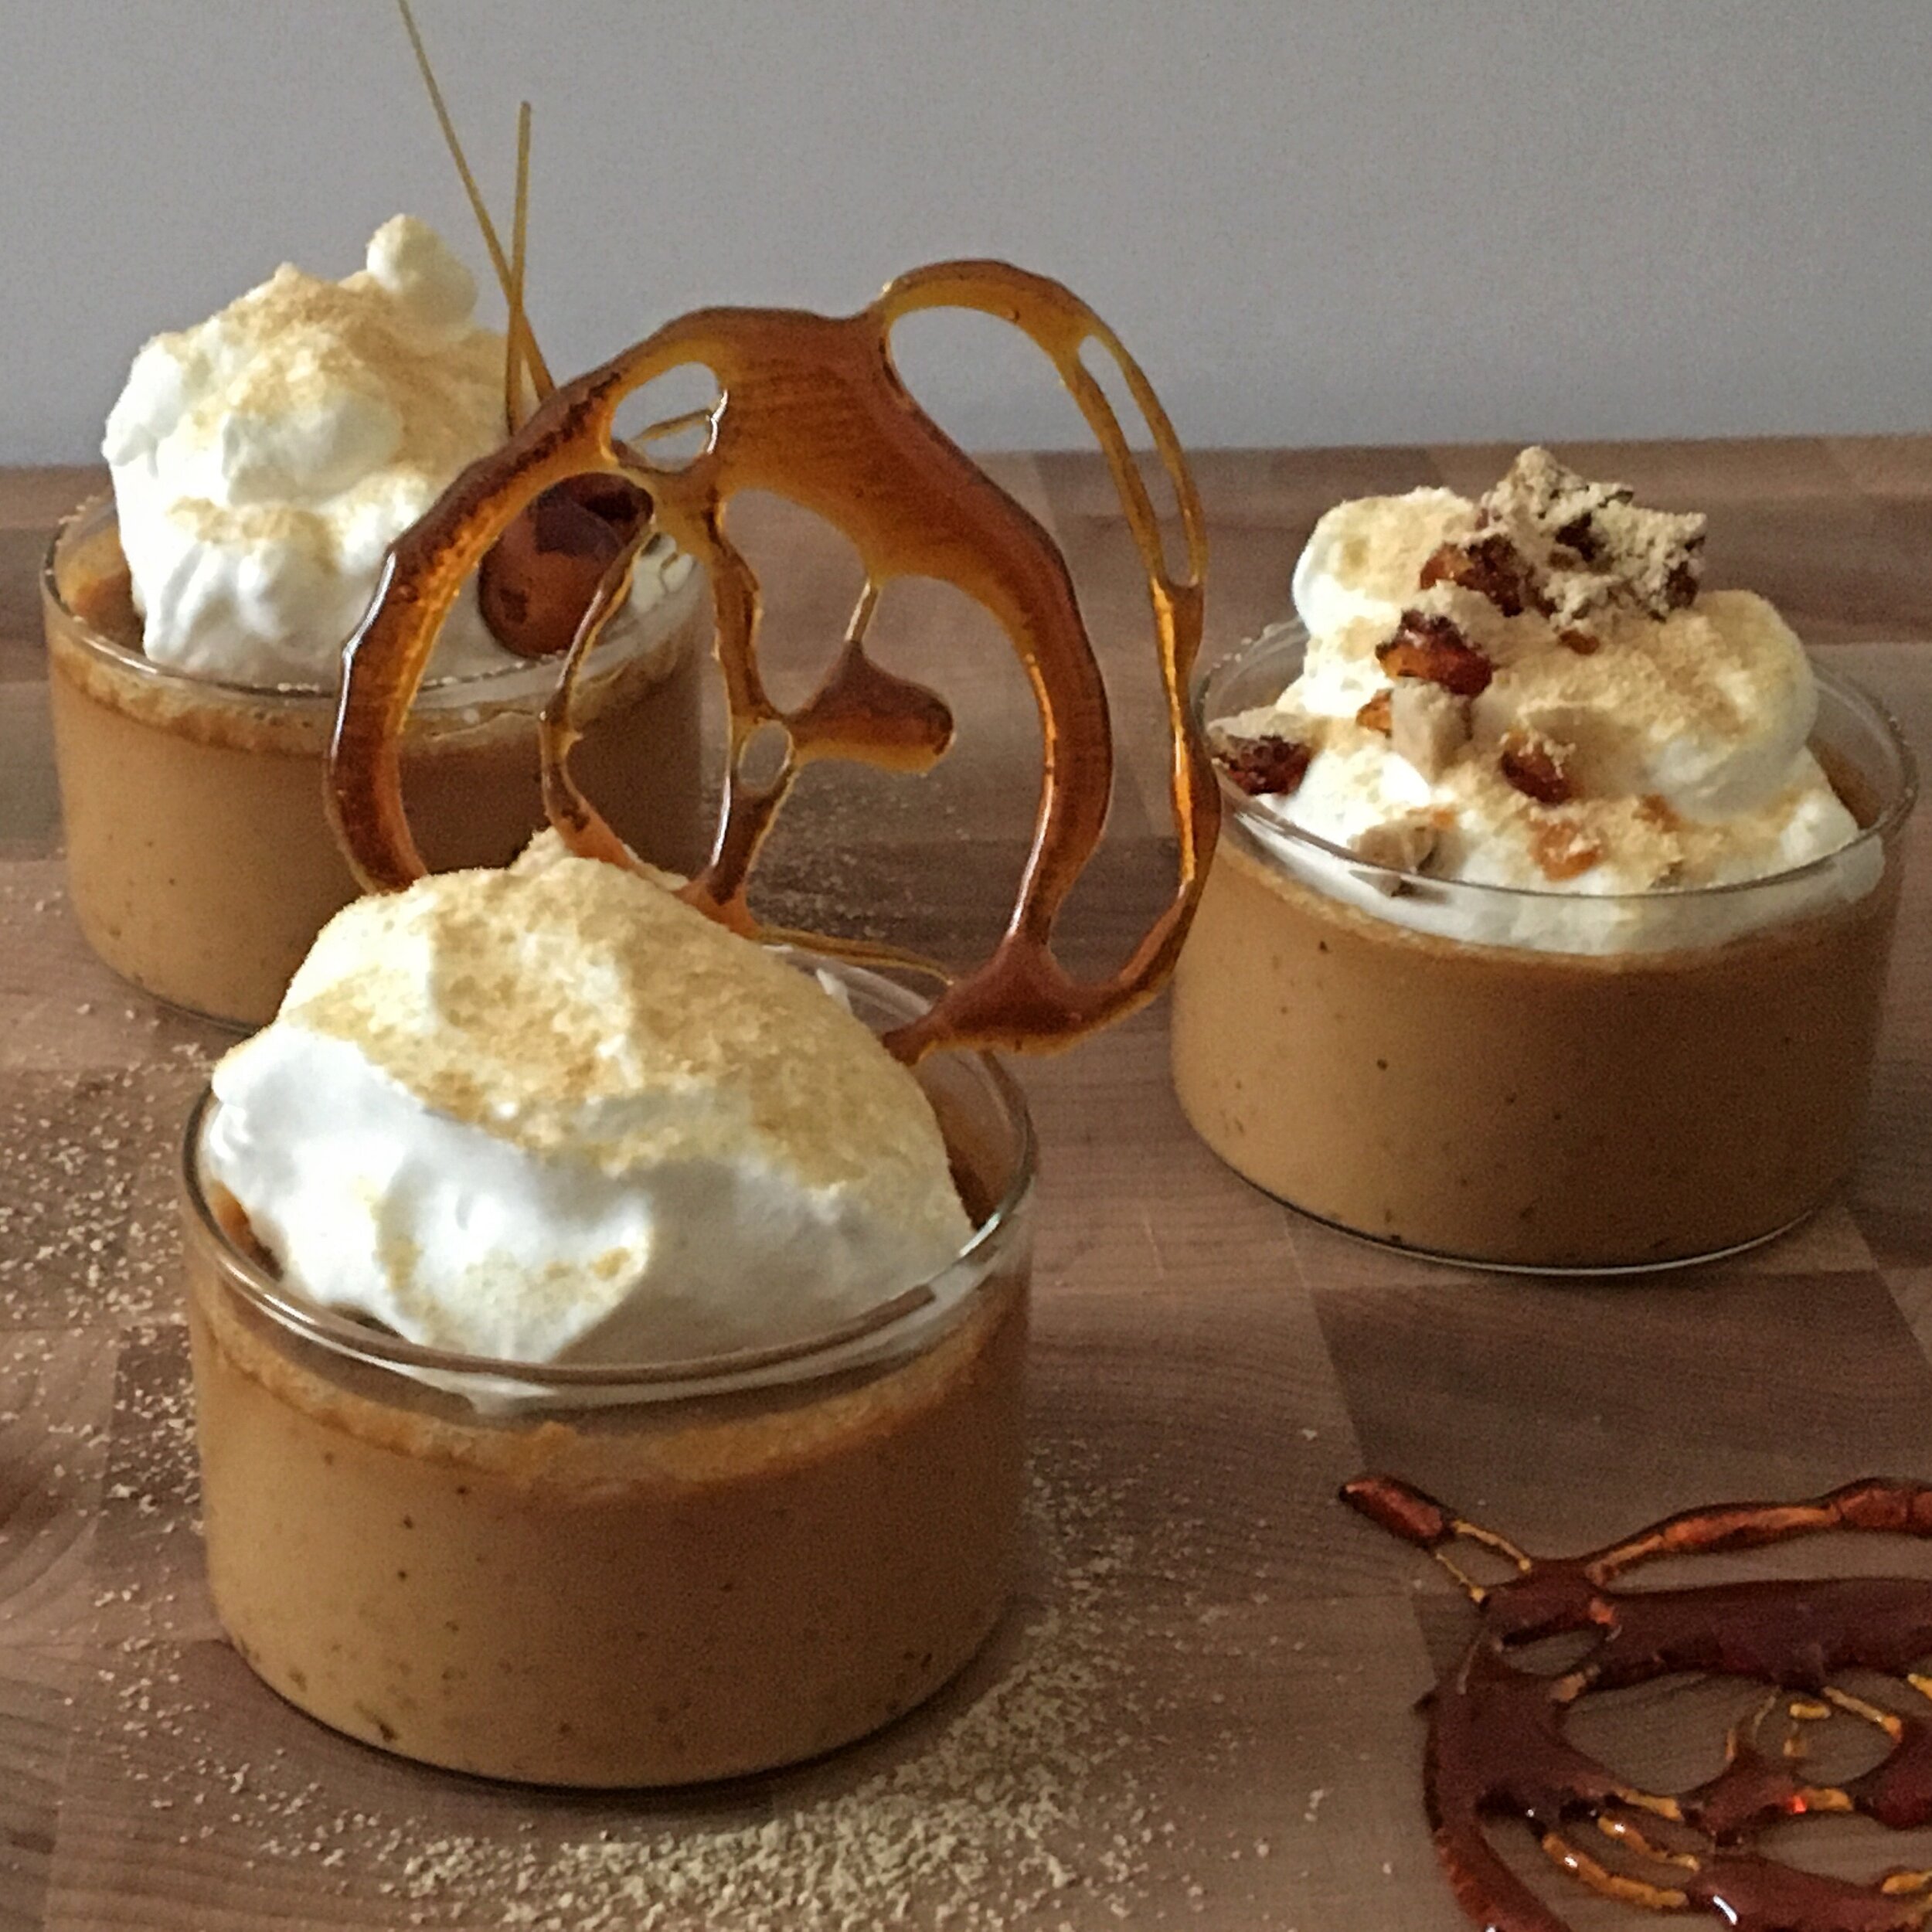
If you care to garnish or will be serving these PDC at a gathering, whipped cream is always a great choice, but here are a few other ideas. It could be fun to double down on the miso/soy theme by dusting the dessert with kinako, roasted soy flour. It’s got a nutty, almost peanut-like flavor and is often used in traditional Japanese sweets. Dust it on top of the whipped cream as you could cocoa powder. If you’re up for making more caramel, an easy decoration can be made by drizzling it on parchment or a silpat mat while it’s still hot to make lacy caramel pieces that will give your pot de cremes some nice height. Any extra caramel can be used to candy nuts like hazelnuts, which can add further crunch and flavor.
Miso Caramel Pot De Creme
Yield: six 4 oz ramekins
Time: 25 minutes active, 25 minutes inactive, 3-4 hours chill time
For the pot de cremes
6 large egg yolks
1 tsp vanilla
1 cup sugar, split (200 g total)
1 ½ cup heavy cream (340 g)
3/4 cup milk (184 g)
2 tbsp miso, preferably red miso
To Finish (optional)
whipped cream
kinako (roasted soy bean flour)
lacy caramel swirls
caramelized nuts
Useful Equipment
6-4 oz ramekins
9”x 13” baking dish
rubber spatula, pastry brush, whisk, sieve, 1 qt measuring cup
Preheat your oven to 325°F. Set 6-4 oz ramekins in a 9” x 13” x 2” baking pan.
Separate your eggs, reserving the yolks in a medium sized bowl. Put aside the whites for another project (they freeze well!). Add the vanilla extract to the egg yolks and measure out ½ of your sugar (½ cup or 100 g) but don’t add it to the yolks just yet. Set this aside for now.
Start your caramel. In a pot no smaller than a 2 qt, add the remaining half of your sugar (½ cup or 100 g) and 2 tbsp of water. Over medium-high heat, dissolve your sugar in water, stirring if you desire. Once the solution is clear and starting to bubble, stop stirring. Using a wet pastry brush, wash down any undissolved sugar crystals on the sides of the pot.
As the sugar boils, measure out your cream and milk into a measuring up. Whisk your miso into the dairy. Have that pitcher close at hand for your caramel.
When the sugar solution gets its first spot of color, keep a very close eye on the pot. As the color darkens, remove it from the heat; the sugar will continue to caramelize without direct heat. Once the sugar is a dark mahogany, turn off the heat and add your liquids. The caramel will immediately boil, so make sure your face isn’t close to the pot!
Return the pot to medium-high heat and bring the caramel to a boil to dissolve the sugar fully. Stir occasionally to ensure the bottom of the pot doesn’t burn.
Going back to your egg yolks, add your reserved sugar and whisk it into the egg yolks until the mix is a paler yellow.
Once your caramel has come to a boil, remove it from the heat and slowly add it to your egg yolks, whisking the entire time. Once all of the caramel has been added to the egg yolks, whisk until all of the sugar is dissolved. Strain your custard into a 1 qt pitcher. The strainer will catch any cooked egg and some miso solids, ensuring the custard will be smooth.
Pour the custard into the ramekins and arrange them in the baking dish so they are not touching. Cover the baking dish with foil, leaving one corner open. Heat several cups of water (4-6) to at least a simmer (180°F or more). When the water is ready, place the baking dish in the preheated oven and carefully add the hot water to the baking dish so it comes up at least half way up the ramekins. Close the open corner of foil and bake your custards for 25-30 minutes. The custard is done when it has set but still has some jiggle (moves more like jello than a liquid).
Remove the custards from the baking dish (a metal spatula is very helpful for this) and let them cool on a rack until they have cooled to the touch. Place the custards in the refrigerator and let chill for 3-4 hours.
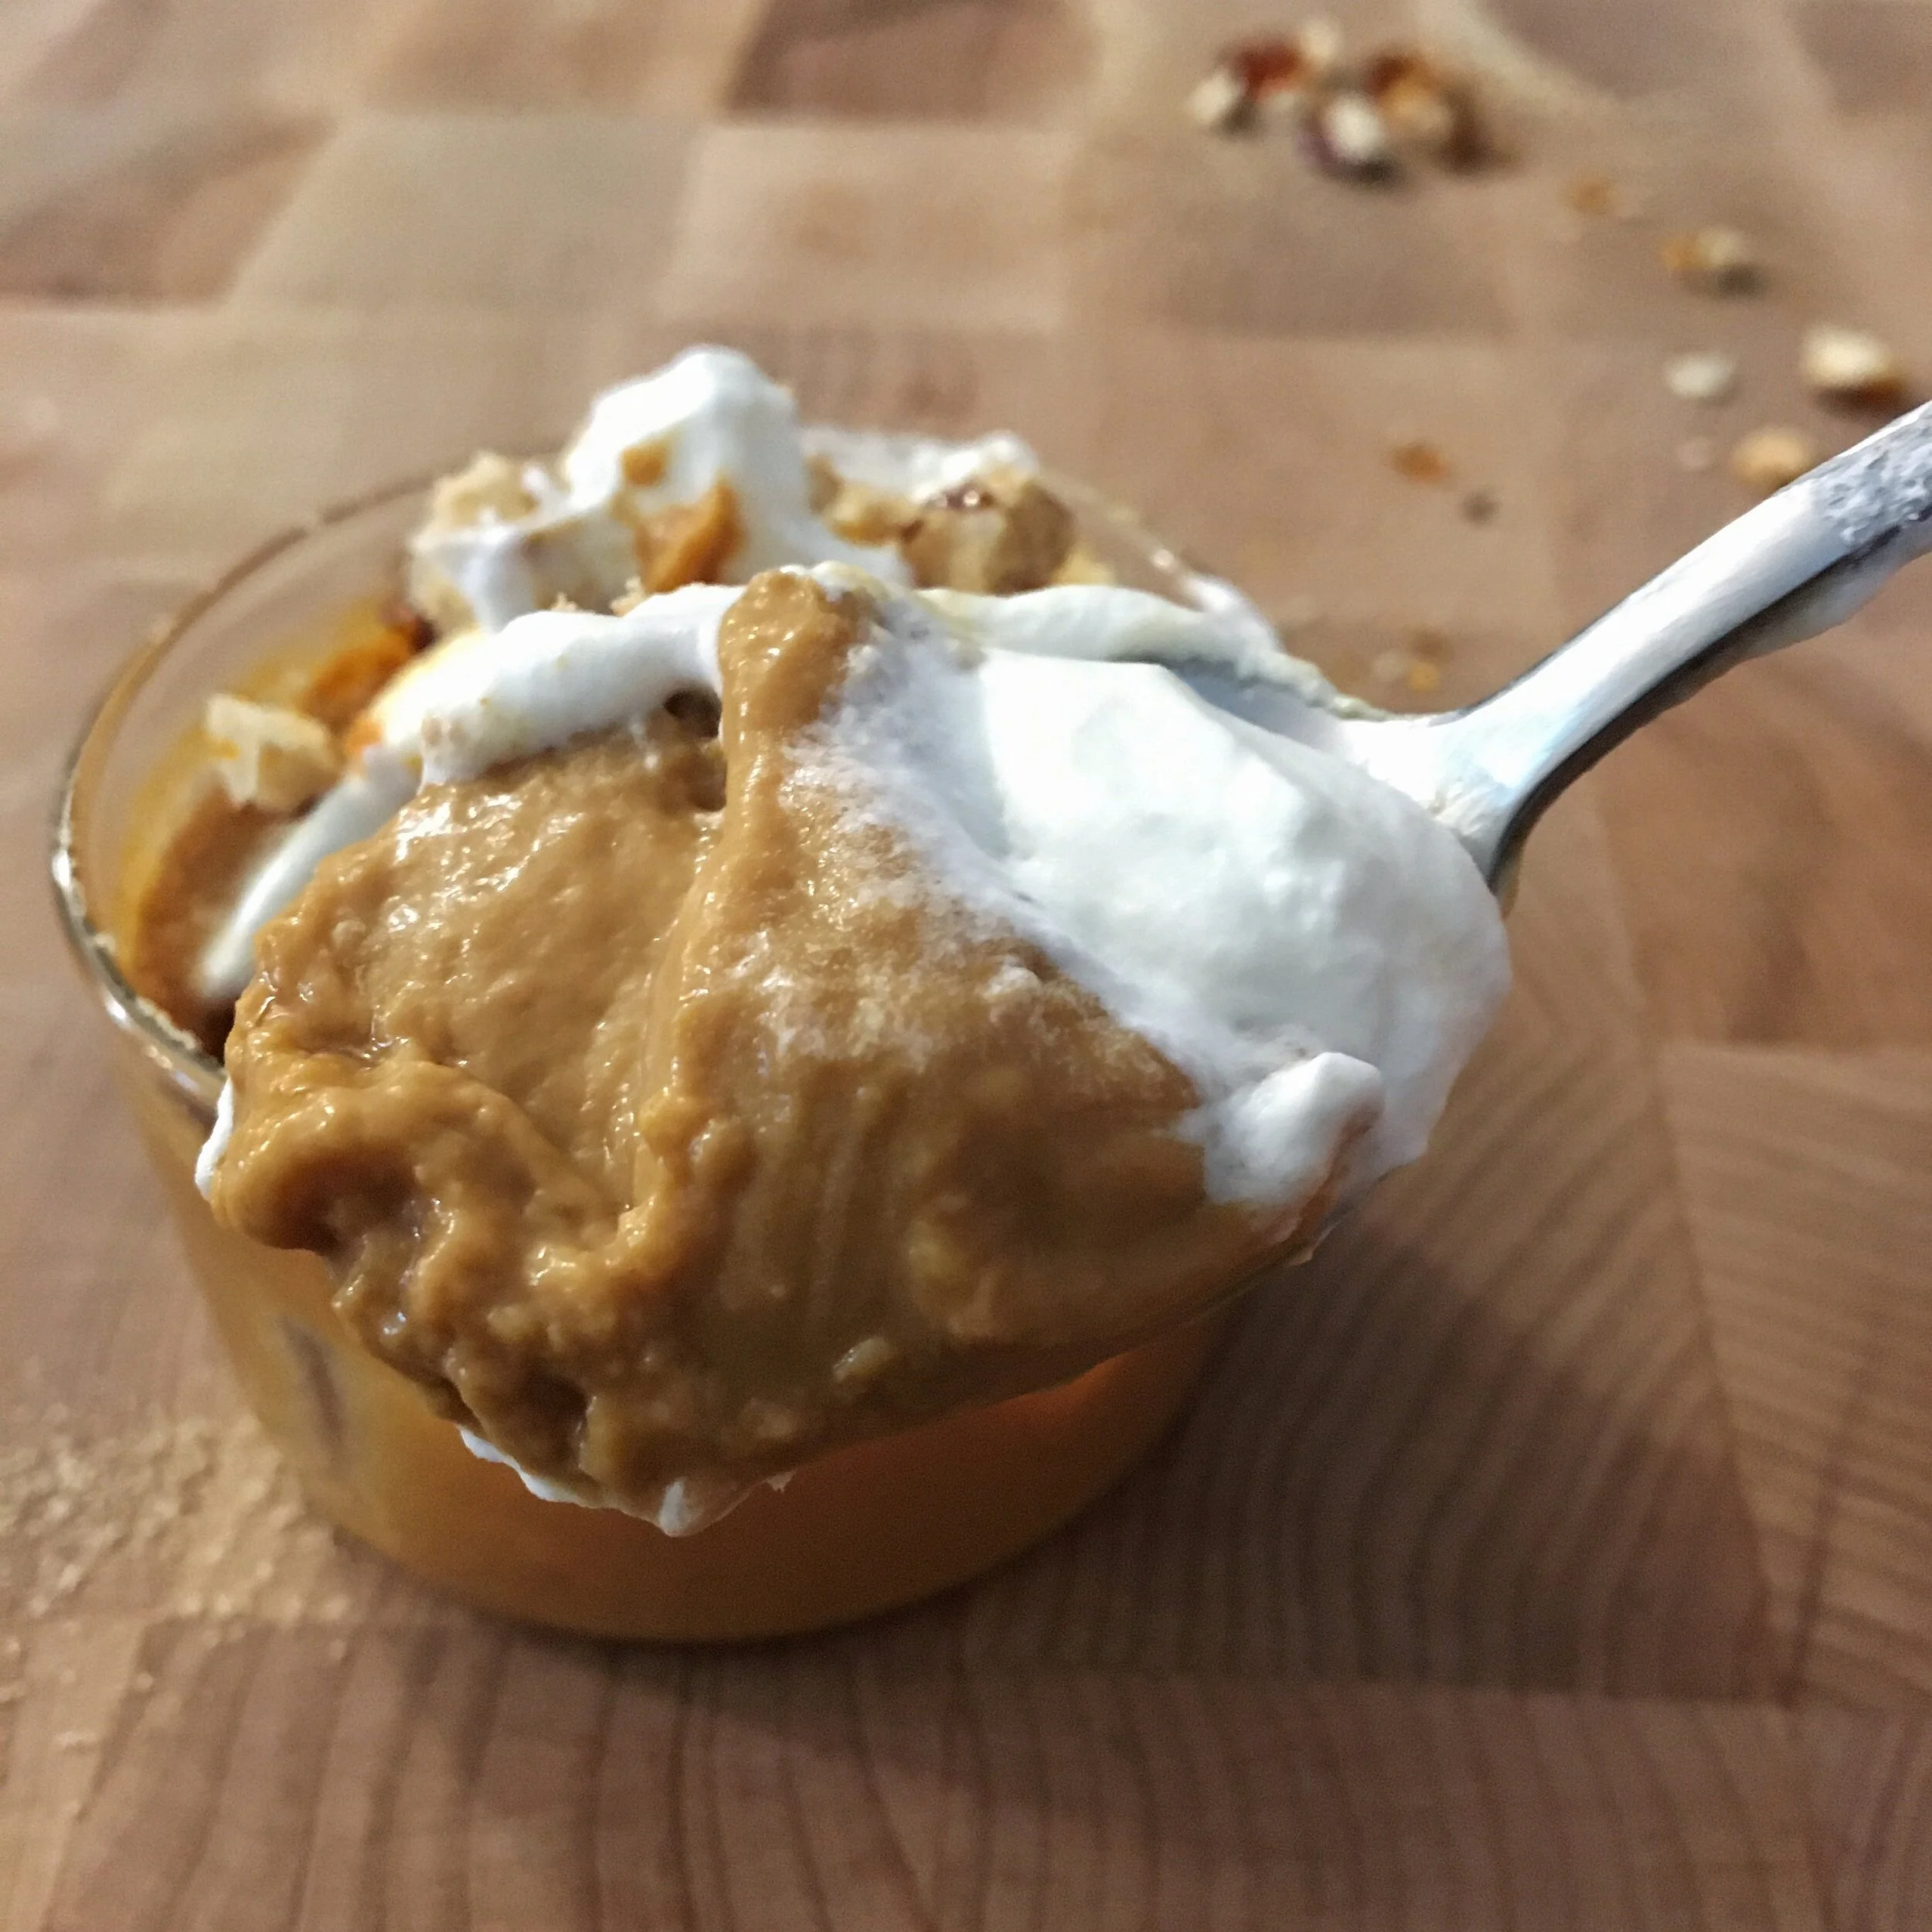
While the PDC chill, prepare any garnishes your heart desires. Once the PDC are fully chilled, decorate and serve. Or eat them in your PJ’s just as they are.